
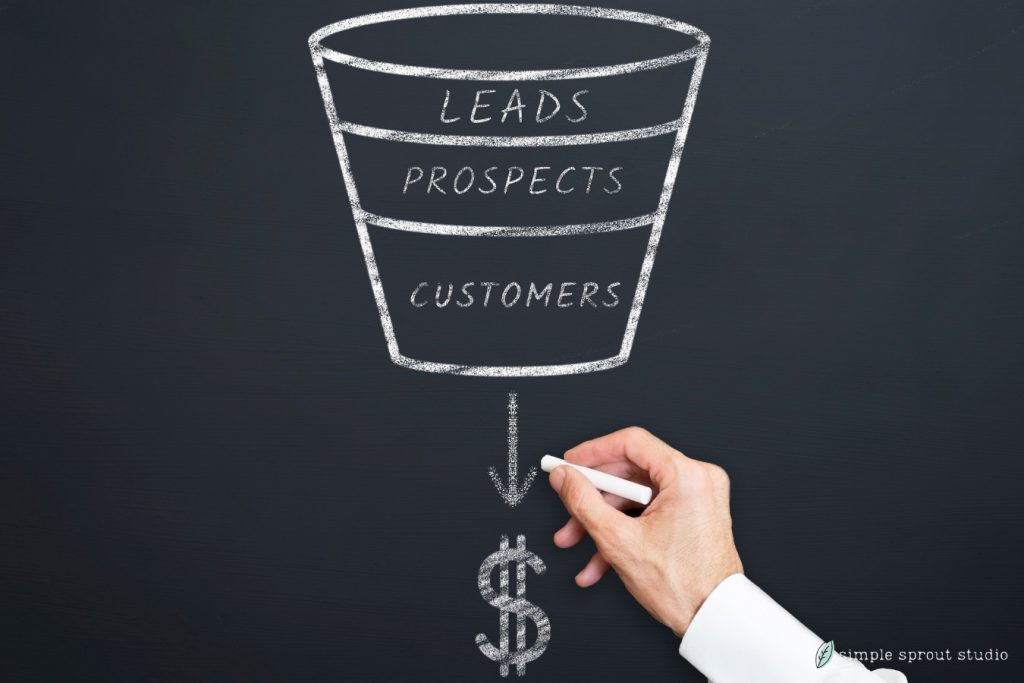
Your Blog-to-Buyer Funnel: How to Turn Your Readers into Qualified Leads

Blogging isn’t just about getting eyeballs – it’s a smart, subtle way to guide readers from curious visitors into meaningful relationships and, eventually, to becoming buyers. Let’s break down how to create a Blog-to-Buyer Funnel that’s clear, actionable, and downright worthwhile.
1. Begin with Empathy: Understanding Your Reader’s Journey
Every funnel starts with listening. Before you write a single headline, think about:
WHO IS YOUR READER?
Are they new to the topic or already familiar? Are they juggling challenges or looking for inspiration?
WHAT DO THEY SEEK?
Are they problem-aware (“Why isn’t my blog traffic growing?”), solution-aware (“How do I set up lead magnets?”), or product-aware (“Is SimpleSprout built to help with that?”)?
WHERE DO THEY HANG OUT & HOW DO THEY PREFER CONTENT?
Short-and-sweet posts, resource-driven guides, storytelling? That awareness shapes your tone and the placement of your CTA. From there, you can craft content that genuinely resonates – and draws readers in naturally.
2. Create Value-First Content & Strategic CTAs
Your blog should be helpful above all else, with CTAs that feel timely, not pushy.
TYPES OF HIGH-CONVERTING CONTENT
▷ How-to guides (e.g., “The 5-step checklist to launch your first lead magnet”)
▷ Templates and swipe files (e.g., download a blog-to-lead worksheet)
▷ Real-life mini case stories (“Here’s how Sara turned one blog post into 10 qualified leads”)
CTAS THAT CONVERT
▷ Soft CTAs: “Keep scrolling for a downloadable framework”
▷ Resource CTAs: “Grab the free plug-and-play funnel outline just below.”
▷ Nurture invites: “Want tips straight to your inbox? Sign up here.”
The key is to make your CTAs feel like extensions of your value; not interruptions.
3. Plug-and-Play Funnel Outline (Lead Magnet + Nurture Sequence)
Here’s a simple, reusable framework you – or your readers –can implement right away:
STEP 1: BLOG CONTENT (TOP OF FUNNEL)
Example blog title: “How to Design a Blog-to-Buyer Funnel That Actually Converts”
Within the post:
▷ Address a common pain point
▷ Share an actionable strategy (e.g., three types of lead magnets)
▷ CTA #1 (mid-post): “Download your funnel outline” – links to the lead magnet
STEP 2: LEAD MAGNET (GATED CONTENT)
Offer a free, high-value asset:
▷ Plug-and-Play Funnel Outline (PDF or gallery card). Follow these sections:
- Awareness Stage Blog Post Title
- Lead Magnet Offered
- Email Sequence (3–4 emails)
- Mid-funnel Touchpoint (e.g., webinar invite or case story)
- Final Offer/Call-to-Action
▷ Download experience:
- Reader enters email → immediate download link
- “Thank you” page offers a secondary, related resource (e.g., swipe file)
STEP 3: NURTURE EMAIL SEQUENCE (POST OPT-IN)
Example
| Email # | Purpose | Sample CTA |
|---|---|---|
| Email 1 | Deliver the resource + offer an extra tip | “Use this tweak to get 2x more clicks” |
| Email 2 | Provide a real mini case story | “See how Lily used this exact funnel and gained 20 leads in 14 days” |
| Email 3 | Dive into deeper pain point + introduce solution | “If writing follow-up emails is holding you back… here’s a solution” |
| Email 4 | Final nudge + optional offer | “Have questions about your funnel? Join a 15-minute free Q&A call” |
4. Sprinkle in Trust Builders and Social Proof
Include social proof at each stage:
▷ Within blog: “I saw a 2.5x increase in submissions using this same strategy.”
▷ On the lead magnet: “Used by 150+ content creators to convert more readers.”
▷ In emails: Insert a real testimonial or short quote: “I thought funnel building was overwhelming—this outline made it simple. I got 12 leads within two weeks!” — Alex R.
These credible touches reinforce that this is real-world working advice—not some vague playbook.
5. Monitor, Refine, A/B Test
Your funnel is a living system. Tweak based on what performs:
▷ Blog metrics: scroll depth, time on page, click-through rate on CTA
▷ Lead magnet conversion rate: out of total blog page views
▷ Email sequence performance: open rates, click-throughs, replies
▷ Test one variable at a time: CTA copy (“Grab your outline” vs. “Download the funnel map”), CTA placement (mid vs. end-of-post), or even email subject lines (“Your funnel outline inside” vs. “Let’s build your funnel”).
6. Keep It Real with Conversational Voice
Readers are human – write like one. Use:
▷ Short sentences and contractions (“I’m here to help—not just to sell”)
▷ Everyday language (“No fluff, just what works”)
▷ Scannable format: bullet points, bolded highlights, and mini-stories
A personal touch keeps people reading—and clicking.
7. Recap: A Clear Blog-to-Buyer Funnel Summary
Here’s your plug-and-play blueprint:
▷ Write a high-value blog post with a CTA to download a funnel outline.
▷ Offer a compelling lead magnet (plug-and-play funnel PDF).
▷ Run a nurture email sequence (deliver resource → share story → address obstacle → invite deeper help).
▷ Use social proof at every step.
▷ Measure and optimize with regular A/B testing and analytics.
▷ Repeat — update older posts, repurpose the funnel across new topics, and refine your voice.
Transforming readers into qualified leads isn’t about slick tactics; it’s about genuinely helping your audience, step by thoughtful step. Your blog is where trust starts.
A high-value lead magnet is where that trust becomes a connection. And the nurturing sequence? That’s where genuine relationships – and real results – begin.
If you’d like help customizing this funnel for your top blog topics or audience segments, we’d be happy to brainstorm next steps!
ready for more?
We’ve got you covered…and we’ll keep it simple.
Every week, we’ll pop in your inbox with awesome SEO and blogging tips made easy.